How to Storyboard a Music Video: Map Shots to Song Sections
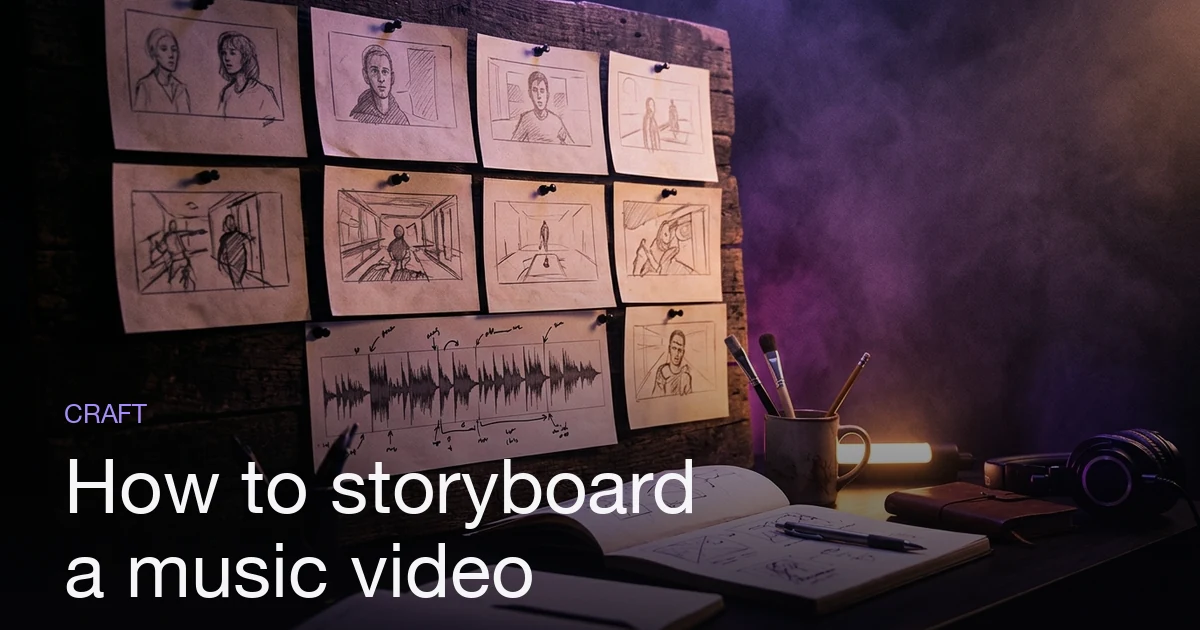
To storyboard a music video, first break the song into its sections — intro, verse, chorus, bridge, outro — using the waveform and lyrics as your timeline. Then plan one or more shots per section: pick a shot type (wide, medium, close-up), a subject, a setting, and a camera move for each. Match the energy of the visuals to the energy of the music, so the chorus gets your biggest, boldest shots and the verse stays more intimate. Pace your cuts to the tempo: faster sections get more, shorter shots; slower sections hold longer. Write it all down as a shot list before you generate or film anything, because the storyboard is the cheapest place to fix a bad idea.
Plans from $19/month, cancel anytime. Starter makes one 30-second video a month.
What is a music video storyboard?
The short answer: To storyboard a music video, first break the song into its sections — intro, verse, chorus, bridge, outro — using the waveform and lyrics as your timeline. Then plan one or more shots per section: pick a shot type (wide, medium, close-up), a subject, a setting, and a camera move for each. Match the energy of the visuals to the energy of the music, so the chorus gets your biggest, boldest shots and the verse stays more intimate. Pace your cuts to the tempo: faster sections get more, shorter shots; slower sections hold longer. Write it all down as a shot list before you generate or film anything, because the storyboard is the cheapest place to fix a bad idea.
A storyboard is the bridge between a song and a finished video: the shot-by-shot plan describing what the camera sees at each moment. For a music video the job is specific — the song is a fixed timeline you can't edit, so every shot has to earn its place against a particular second of audio. Get the storyboard right and the shoot (or the generation) is just execution; get it wrong and you pay in time, money, or re-renders to fix ideas a five-minute planning pass would have caught.
This guide covers the craft — reading a song's structure, assigning shots to sections, choosing shot types, and pacing cuts — and it applies whether you're filming with a crew or generating with AI. For the full end-to-end production flow, see How to Make an AI Music Video; this post zooms into the storyboarding step inside it. It is also not the same document as a music video treatment, which pitches the idea to other people before a single shot exists (how to write one covers the structure).
How do you map shots to song sections?
The single most important move in music-video storyboarding is to treat the song structure as your timeline. Before you think about a single image, break the track into its sections. Almost every song is built from the same repeating parts: an intro (opening, often instrumental), verses (lower-energy storytelling), a pre-chorus (the build), the chorus (the hook and energetic peak), a bridge (a contrast near the end), and an outro (the resolution).
Once you can name where each section starts and ends — the waveform makes this visible, and lyric timings pin it down — you plan shots against that map. The principle underneath it all: match visual energy to musical energy. A chorus that explodes in the audio should explode in the visuals too; a quiet verse should breathe. Here's how that translates section by section:
| Song section | What it's doing musically | Shot idea |
|---|---|---|
| Intro | Setting the mood, often instrumental | Slow establishing wide — the location, the artist arriving, an empty stage |
| Verse | Carrying the story, lower energy | Intimate mediums and close-ups; the artist performing to camera or a narrative beat |
| Pre-chorus | Building tension | Push-in or rising camera move; tighter framing as energy climbs |
| Chorus | The hook, peak energy | Your biggest, boldest shots — wide dynamic moves, fast cuts, the full band, the key location |
| Bridge | Contrast, a turn | Change the look — new setting, new color, a visual surprise that mirrors the musical shift |
| Outro | Resolution | Pull back, slow down, let a held shot resolve the video |
Because the chorus repeats, you can reuse and vary its shots — let the second chorus echo the first with a small escalation (a new angle, more movement, a wardrobe change) so the video feels like it's building rather than looping.
What shot types should you use?
Shots are the vocabulary of your storyboard. You don't need film-school jargon — just three workhorse types and the discipline to vary them:
- Wide (establishing) shot — the whole scene: location, scale, where everyone is. Use it to open a section or sell a big chorus.
- Medium shot — the subject from roughly the waist up, with some context. Your default performance shot; most of a music video lives here.
- Close-up — a face, hands on an instrument, a single object. Where emotion and detail live; reserve it for lyrical or emotional peaks so it lands.
Two more choices give each shot life: camera movement (static, slow push-in, handheld drift, orbit, crane-up — a push-in during a pre-chorus physically enacts the build) and angle (eye-level is neutral, low angle makes the subject powerful, high angle makes them small).
The craft rule is contrast between cuts. Two wide shots back to back feel flat; a wide into a close-up has punch. As you lay out the storyboard, read down the shot-type column and make sure you're not repeating the same framing three times in a row — that variety is what makes an edit feel professional before you've generated a single frame.
Shot type is only half the look, though. Depth, colour palette, lighting direction and camera motion are what decide whether a shot reads as filmic at all — what makes a music video look cinematic covers those six levers and how to write them into the storyboard.
How do you pace the cuts?
Pacing is where the storyboard meets the tempo. The rule of thumb: cut with the music, not against it. Fast, high-energy sections want more shots held for less time; slow, spacious sections want fewer shots held longer. To plan it without a stopwatch:
- Count your sections and note roughly how long each runs.
- Assign a shot budget per section — one to three shots for most, more for a busy chorus.
- Anchor big cuts to big musical moments — the downbeat that starts the chorus, the drop, the first snare after a breakdown. A cut on the beat feels intentional; one a half-second off feels sloppy.
- Hold the quiet moments. A single held shot through a tender verse line often beats three rushed ones.
For a typical three-minute pop song, this lands between 15 and 30 shots — enough to stay alive without turning into a strobe. Let the song decide the exact number; the storyboard is where you feel the rhythm of the edit before committing anything expensive.
Should you storyboard by hand or with AI?
You can build a storyboard two ways, and they're not mutually exclusive.
By hand. Grab index cards or a free tool like Storyboarder or Milanote and write a numbered shot list: shot number, song section, timecode, shot type, subject, setting, camera move. Lay the panels out in your video's aspect ratio — 16:9 for landscape, 9:16 for vertical — with a notes column for lighting and camera, and sketch each frame if you can; even stick figures clarify composition. It's free and forces you to think through every beat; the downside is it's slow, and you detect the song's sections yourself by ear.
With an AI tool. This is where Melodious fits the craft. You upload a song and it's analyzed once — tempo, section structure, and lyric timings. Then, from a director style you choose and a vision you describe in plain language, Melodious drafts the storyboard for you: shot by shot, mapped against the real song structure it detected. The chorus gets chorus shots; the bridge gets a visual shift — the same principles above, applied automatically to your track.
Crucially, the AI storyboard is reviewable before anything is generated. You read the shots like a director reviewing a shot list, adjust the ones that don't fit (what you can change on each shot), and only then generate — each shot becomes a keyframe, then an animated clip, then everything is stitched and synced to your audio. You can even reuse a character across every shot so the same face holds throughout, and start from a demo song if you don't have a track ready. If you want to see what happens between the upload and that shot list, how an AI music video storyboard actually gets built follows one through each stage.
The honest trade-off: doing it by hand teaches the craft deepest and costs nothing but time; letting a tool draft it gives you a structurally sound first pass in seconds that you then refine. Either way the discipline is identical — shots mapped to sections, energy matched to the music, cuts paced to the tempo.
What are the most common storyboarding mistakes?
| Mistake | What happens | Do instead |
|---|---|---|
| Ignoring song structure | Shots feel random, disconnected from the music | Map every shot to a named section first |
| Same energy throughout | Flat video; the chorus doesn't hit | Match visual energy to musical energy |
| Repeating one shot type | Edit feels amateur and monotonous | Contrast wides, mediums, close-ups between cuts |
| Cutting off the beat | Edit feels sloppy and disconnected | Anchor big cuts to downbeats and drops |
| Over-cutting quiet parts | Tender moments feel rushed | Hold longer shots through low-energy sections |
| Skipping the storyboard entirely | Expensive fixes during shoot or render | Plan and approve shots at the cheapest stage |
The thread through all of these: the storyboard is the cheap stage. Whether your "expensive stage" is a film crew standing around or an AI render burning through generations, every problem is cheaper to fix in review than after. Front-load the thinking — by the time you shoot or generate, you should be confirming a plan, not discovering it.
How do you turn a storyboard into a finished video?
A storyboard is a plan, not a product — the payoff is the video it becomes. If you're filming, it's your shot list on set; if you're generating, it's the blueprint your tool renders from. Either way the workflow is the same: analyze the song, map shots to sections, lock the storyboard, then produce.
To go from song to finished video without a camera, drop an MP3 into our MP3-to-video tool or start from the dashboard with a demo song, pick a director style, and describe your vision — Melodious builds the shot-by-shot storyboard against your real song structure, you review it, then it generates and syncs the whole video to your audio.
Start your storyboard with Melodious — upload a song (or use a demo track), choose a director style, and watch the AI map shots to every section before you generate a single frame. Plans start at $19/month: Starter, 750 credits ≈ 35 s of HD video, cancel anytime.
Frequently asked questions
What is a music video storyboard?
A storyboard is the shot-by-shot plan for a music video — a list or sketch of every shot mapped to a moment in the song. Each entry names the shot type, the subject, the setting, and any camera movement, and it's tied to a specific song section (intro, verse, chorus, bridge). It's the blueprint you build and approve before you generate or film anything.
How do I map shots to the parts of a song?
Break the song into sections using the waveform and lyric timings, then assign shots section by section. Give the intro an establishing shot, keep verses intimate with mediums and close-ups, save your widest and most dynamic shots for the chorus, shift the look at the bridge, and let the outro resolve. Match visual energy to musical energy.
How many shots should a music video have?
A three-minute pop song usually lands between 15 and 30 shots — as a working rule, one to three shots per song section, with faster or higher-energy sections getting more, shorter shots. It depends on tempo and length, so let the song's pace decide: count the sections first, then plan shots against them.
What shot types should I use in a music video?
The core three are wide (establishing — sets location and scale), medium (the working shot — subject and some context), and close-up (emotion and detail — a face, hands, an object). Mix them so cuts feel varied, and reserve the boldest framing and biggest camera moves for the chorus.
Do I need to storyboard if I'm using an AI music video tool?
You still need the storyboard — but an AI tool can build the first draft for you. Melodious analyzes your uploaded song, detects its sections, and drafts a shot-by-shot storyboard mapped to the real structure. You review and adjust it before anything is generated, so you get the planning discipline without drawing every panel by hand.
What's the difference between a storyboard and a shot list?
A shot list is the text version — a numbered table of shots with type, subject, and setting. A storyboard adds the visual: a sketch or reference frame for each shot so you can see the composition. For a music video, the useful move is to tie either one to song sections, so every shot has a home on the timeline.
Make your next music video in Melodious
Attach your song and an AI director builds the storyboard scene by scene — with characters that stay consistent the whole way through. Plans from $19/month, cancel anytime. Starter makes one 30-second video a month.
Make your music video